You see, I have this problem with being obsessed with creating pretty things with my digital supplies. Even better is when those pretty things are also useful. Which brings me to today's project.
Time to open up a can. Not just any can, though. I want you to look through your kitchen pantry and try to find a can of food with a pop top.
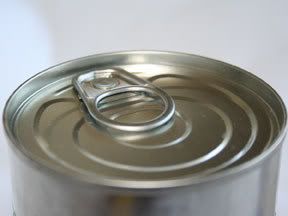
Yeah, I couldn't find one either, the first time I tried this project, so I went to the store and bought a couple of cans of fruit. While you are shopping, you need to pay attention to the BOTTOM of the can, too.
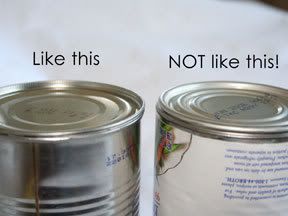
The reason the bottom is important is because you will be using a can opener that is designed to open the can from the sides and create clean edges that are NOT sharp. If you do not have one of these cool can openers, just ask a friend if you can borrow hers. They are pretty popular, so someone you know should have one!
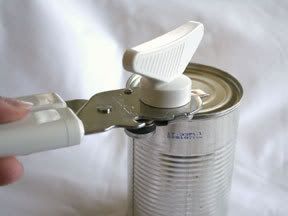
Make SURE you open the can from the bottom and NOT the top! You will be filling the can and closing it up again, so if you pop the top . . . no good.
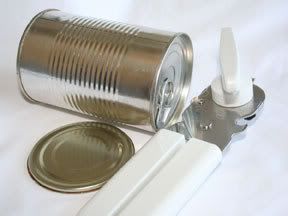
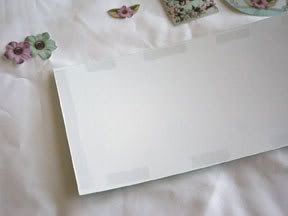
Now, feed your family, wash out the can, and tear off the label. This is what you should end up with.
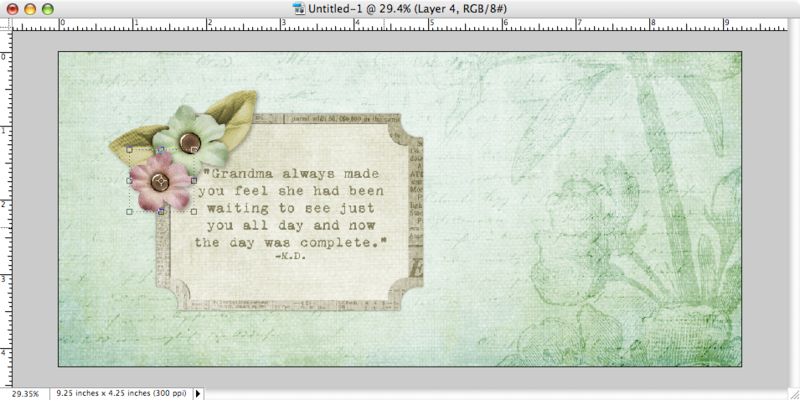
At this point, you'll want to measure the surface area of the outside of your can. Mine was roughly 9.25in x 4.25in. Open Photoshop, and create a new document with these dimensions. Now it is time to design!
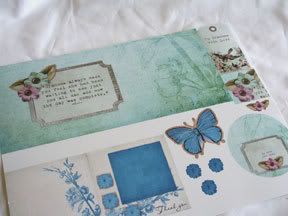
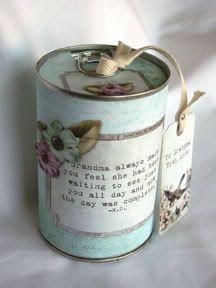
I used a great kit from one of The Digichick's newest designers, Nicole Seitler, who will be debuting tomorrow, so this is a little sneaky peaky at one of her products called A Little Birdie. So cute!
I went ahead and designed the outside to my liking.
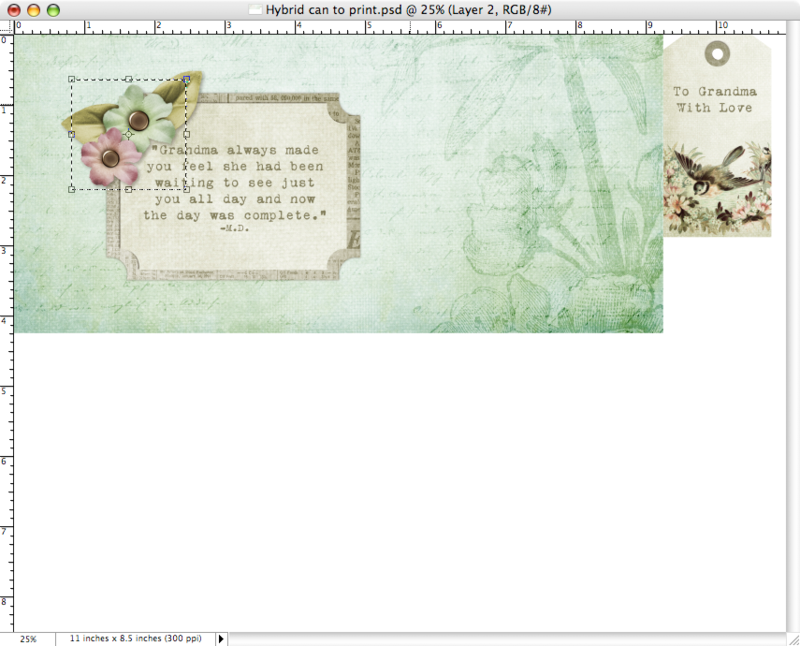
Then I flattened my project and dragged it onto a new, blank, 8.5 x 11 in document, since my printer is a standard size. I added the little tag from Nicole's kit that I had fallen in love with to the right of my page. Then, to add a little dimension to my finished product, I used my rectangular marquis tool to select the flowers from the front of the can. I copied and pasted them onto a new layer, then dragged them to the side of my document. My plan was to cut these out, apply pop dots (dimensional foam stickers) and put them right back where I got them.
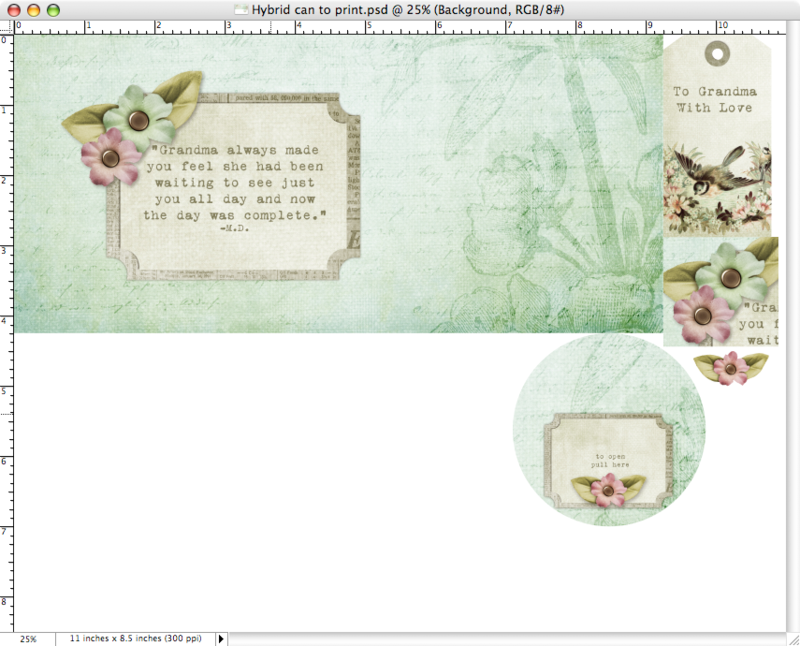
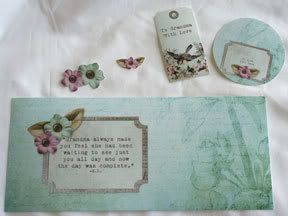
Next, I measured the diameter of the top of my can. To do this, just find the middle of your lid and measure across. Mine was roughly 2.75 inches. Now, just select your circular marquis tool and type in a fixed size of 2.75in x 2.75in. Design the top as you would like, flatten and drag onto your "page to print". You'll notice that I selected the flowers from the top of my can before I flattened and duplicated them so I could cut them out as I mentioned above.
And, since I am not one to waste valuable, quality paper, this is what my "page to print" looked like.
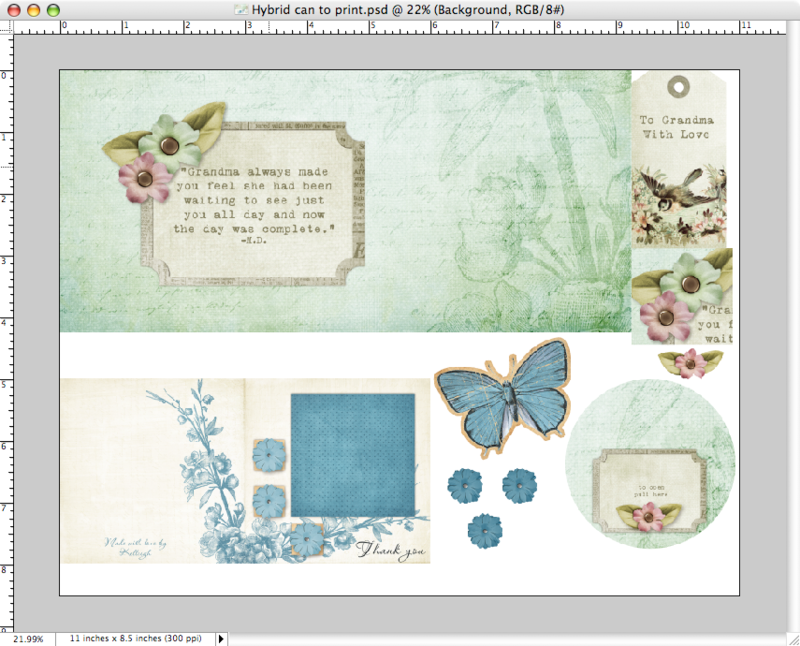
(Go check out the hybrid gallery on Thursday morning to see the other project I created with Nicole's goodies! Her stuff ROCKS!)
Now, print your page and begin cutting. I used my trusty micro-tip scissors to carefully cut around each flower that I planned to "pop".
Apply your favorite dry adhesive (tape runner, tabs, etc.) paying special attention to the "seams", or the area where the two sides will meet.
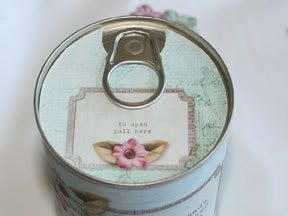
Line your paper up on your can so your main image is directly across from the pop top tab. Stick it to the can!
Now, cut out your top and position it. I cut out a notch in my paper using a 1" circle punch, but you could use your scissors, too.
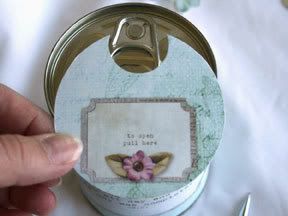
Apply foam pop dots to the flower pieces you cut out, and reposition them on your can, right on top of the original flowers like so:
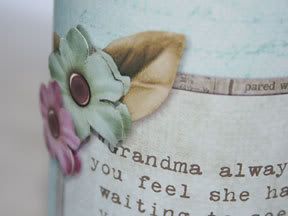
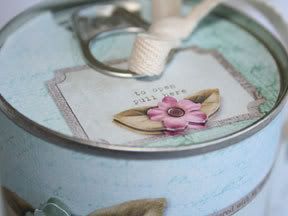
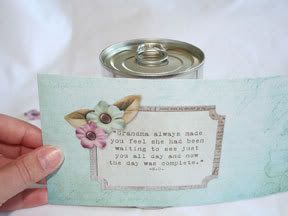
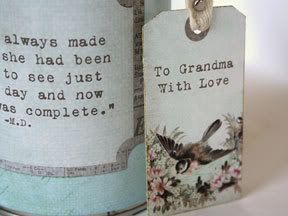
Add your tag and a ribbon to the pop top tab, if desired. This is my finished project!

Fill the can from the bottom with candy, tiny bath items, a gift card, etc. and seal up with a liquid adhesive that is appropriate for metal (or just push the bottom on until it is nice and tight!).
What a fun "wrapping" for a present, huh? And, after the recipient opens it (by pulling the tab!), the can could be used as a pencil holder!
Now, it is time to try this project for yourself. You have until midnight, Pacific time, Friday, August 8th to make your own hybrid can for a chance to win $5 to Nicole Seitler's new store at The Digichick! Just post your creation to the hybrid gallery and link us up in the hybrid forum.
Have fun!